

1
/
of
1
The story goes:
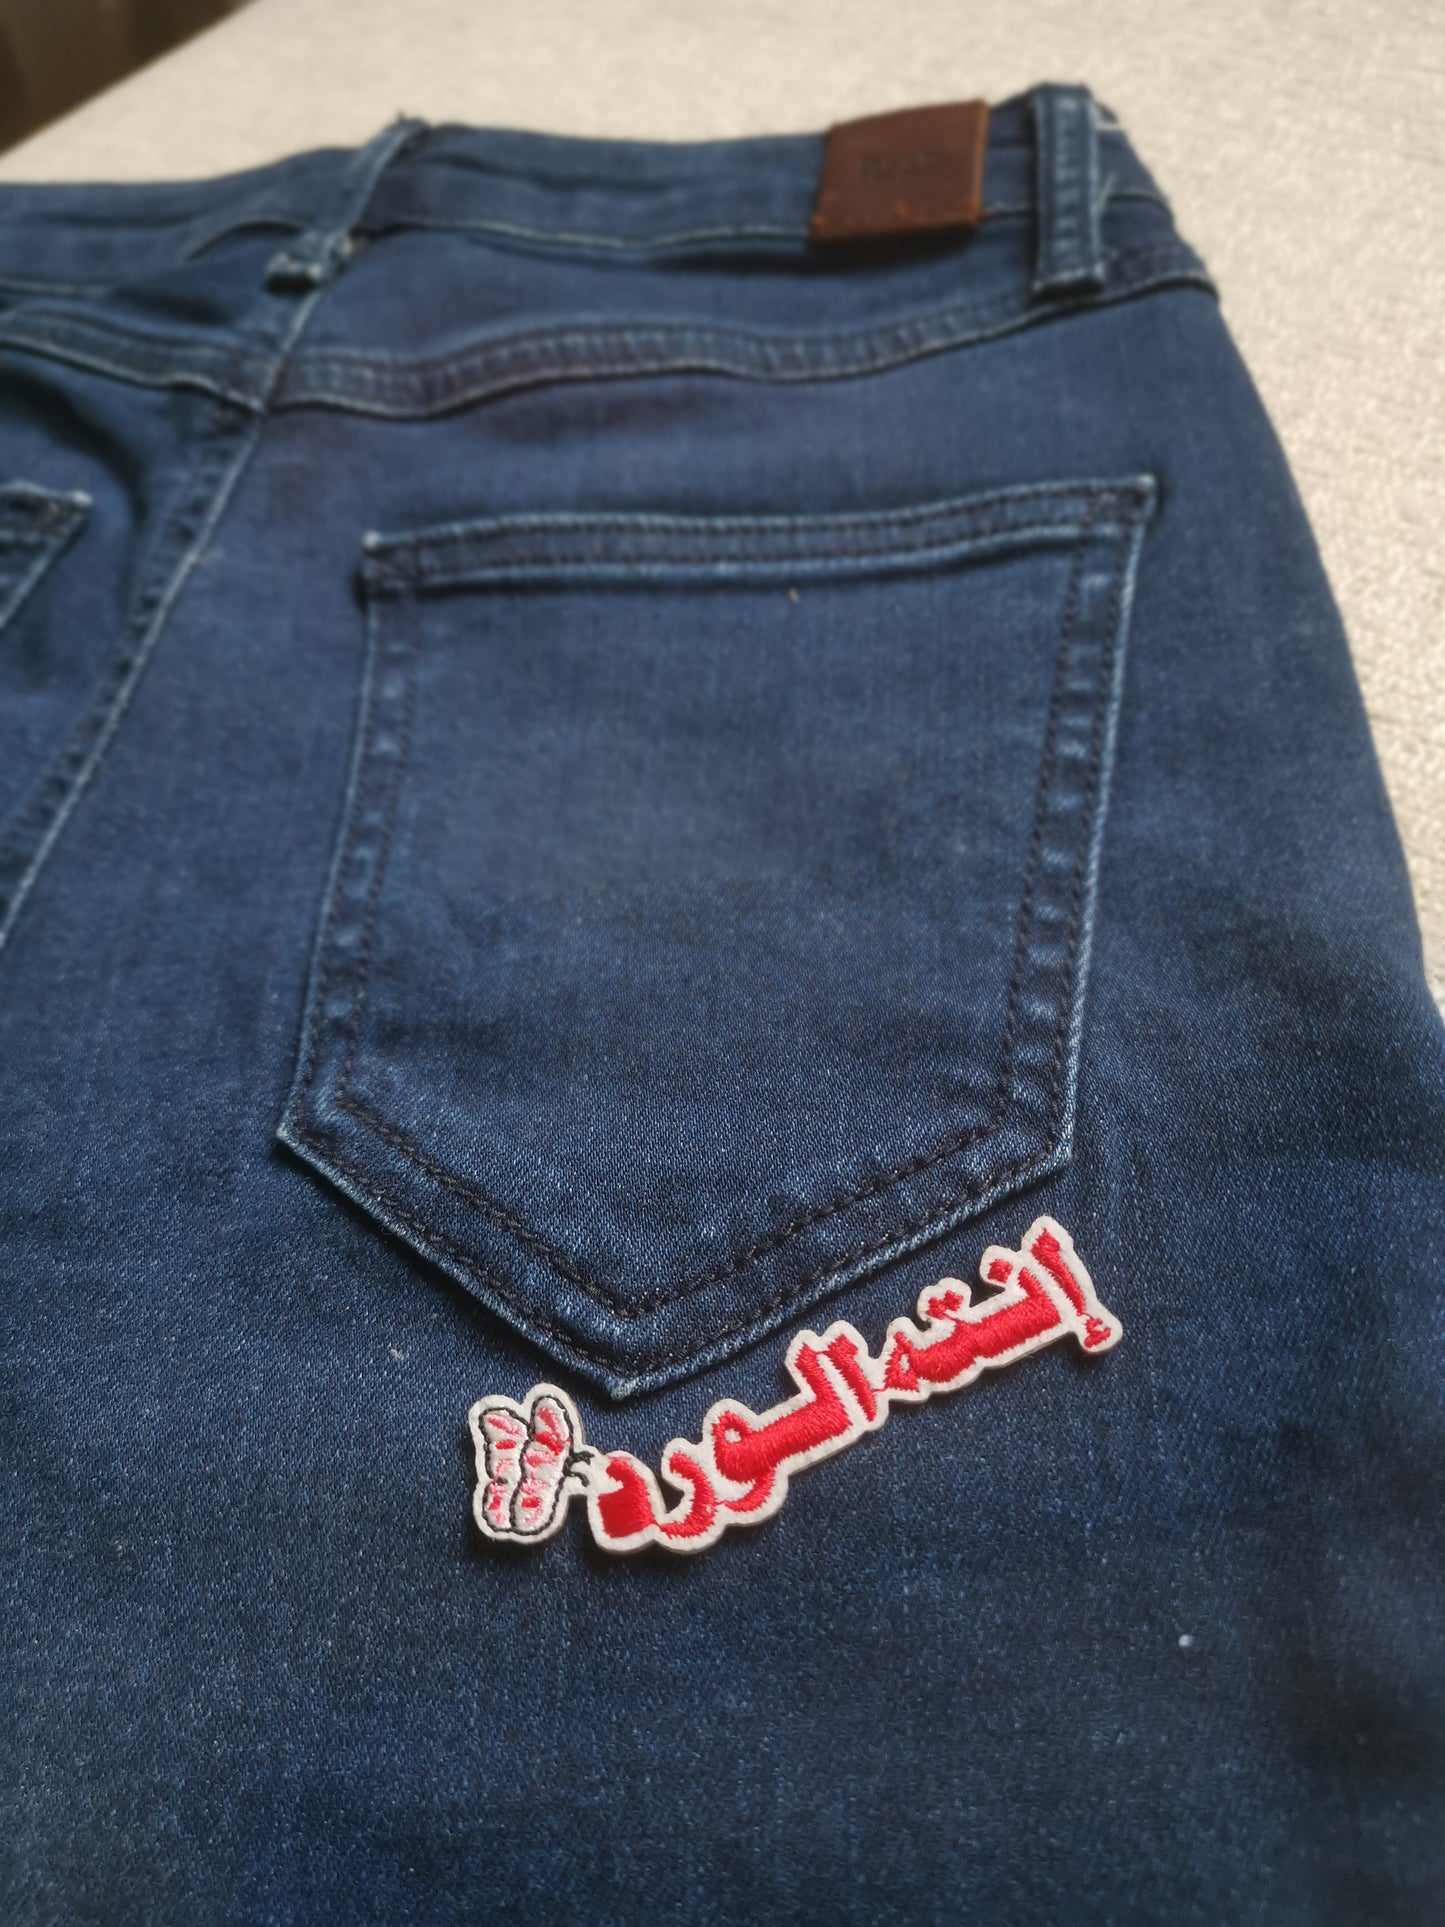
enta elward patch
enta elward patch
Regular price
4.000 BHD
Regular price
Sale price
4.000 BHD
Shipping calculated at checkout.
Quantity
Couldn't load pickup availability
Embroidered Iron-on enta elward patch.
Get you a Deal-ward with 3 and more.
3 PCS FOR BHD 9 CALCULATED AT CHECKOUT.
Share
The how to, iron-on instructions.
eye patch
Do not peel off what you think is a plastic cover, that's how i ruined mine.
- Lay the clean garment on a flat surface.
- Turn the iron on. Ensure steam is off with no water in the iron. Set the temperature to the right fabric setting.
- Place the patch (facing up) onto the garment where desired. Place a thin (cotton) cloth over the patch area.
- Apply pressure with the iron in circular motions for 10-30 seconds over the patch area to ensure adhesion. Allow the patch to cool.
- Flip the garment inside-out, apply direct heat (or place a thin cloth over it to avoid a burnt effect on your garment before applying heat) with the iron onto the areas until adhered. Once again, allow the patch to cool.
- Check if the patch has adhered completely. (Repeat steps 4-6 if necessary).
- It’s now ready to wear! Enjoy your newly patched garment.
enta elward patch
Peel it off, really...
- Peel off the protective back layer of the patch.
- Lay the clean garment on a flat surface.
- Turn the iron on. Ensure steam is off with no water in the iron. Set the temperature to the right fabric setting.
- Place the patch (facing up) onto the garment where desired. Place a thin (cotton) cloth over the patch area.
- Apply pressure with the iron in circular motions for 10-30 seconds over the patch area to ensure adhesion. Allow the patch to cool.
- Flip the garment inside-out, apply direct heat (or place a thin cloth over it to avoid a burnt effect on your garment before applying heat) with the iron onto the areas until adhered. Once again, allow the patch to cool.
- Check if the patch has adhered completely. (Repeat steps 4-6 if necessary).
- It’s now ready to wear! Enjoy your newly patched garment.